Invisalign offers a discreet path to a straighter smile, yet diligent aftercare is paramount for lasting results. Proper aligner maintenance, alongside consistent oral hygiene, ensures a healthy, beautiful outcome.
The Importance of Following Instructions
Invisalign treatment success hinges on meticulously following the provided instructions; deviations can significantly impact the final outcome. Each aligner is precisely engineered to shift your teeth incrementally, and wearing them for the recommended 20-22 hours daily is crucial for achieving the desired alignment.

Skipping wear time or inconsistent use can cause teeth to revert, prolonging treatment and potentially requiring adjustments. Furthermore, adhering to cleaning protocols prevents bacterial buildup, safeguarding both your aligners and oral health. Ignoring these guidelines increases the risk of tooth decay and gum disease, undermining the benefits of orthodontic correction.
Your orthodontist’s specific instructions are tailored to your unique case, so understanding and implementing them is vital. Consistent communication with your provider and diligent self-care are the cornerstones of a successful Invisalign journey, ensuring a confident, radiant smile for years to come.
Maintaining Results: A Long-Term Commitment
Achieving a beautifully straightened smile with Invisalign is a significant accomplishment, but it’s merely the beginning of a long-term commitment to maintaining those results. While aligners do the initial work, retainers are essential for preventing teeth from gradually shifting back towards their original positions – a natural phenomenon known as relapse.
Consistent retainer wear, as prescribed by your orthodontist, is non-negotiable. Initially, this often involves full-time wear, gradually transitioning to nighttime use. Neglecting retainer wear can undo the progress made during treatment, necessitating further orthodontic intervention.
Beyond retainers, continued good oral hygiene – brushing, flossing, and regular dental check-ups – plays a vital role in preserving your smile. A healthy foundation supports long-term stability. Consider Invisalign success not as a finished procedure, but as an ongoing investment in your oral health and confidence.

Caring for Your Aligners
Proper aligner care is crucial for treatment success and longevity. Regular cleaning prevents bacteria buildup, ensuring optimal oral health and extending the life of your Invisalign aligners.
Cleaning Your Aligners Daily
Maintaining pristine aligners is a cornerstone of successful Invisalign treatment. Daily cleaning prevents the accumulation of plaque, bacteria, and food debris, safeguarding both your aligners and your oral health. Begin by rinsing your aligners with cool water after each removal. Avoid hot water, as it can warp the plastic.
Next, gently brush your aligners with a soft-bristled toothbrush and mild, unscented soap. Avoid abrasive toothpaste or harsh cleaning agents, as these can scratch the surface, creating areas for bacteria to thrive. Pay close attention to all surfaces, ensuring thorough cleaning. Rinse thoroughly again to remove any soap residue.
For a deeper clean, consider using Invisalign Cleaning Crystals or a dedicated aligner cleaning solution. These products effectively remove stains and buildup without damaging the aligners. Always follow the manufacturer’s instructions carefully. Consistent daily cleaning is a small effort that yields significant benefits, contributing to a healthier smile and a more effective treatment journey.
Proper Storage When Not in Use
When you’re not wearing your Invisalign aligners – during meals, brushing, or other activities – proper storage is crucial to protect them from damage and maintain hygiene. Never wrap your aligners in a napkin, as this can easily lead to accidental disposal. Always store them in the provided Invisalign case.
The case is designed to shield your aligners from physical impact, preventing cracks or warping. It also creates a protective barrier against bacteria and contaminants. Leaving aligners exposed on a countertop or in a pocket increases the risk of damage, loss, or contamination.
Ensure the case is clean and dry before storing your aligners. Regularly clean the case itself with mild soap and water. A dedicated aligner case is an essential accessory, safeguarding your investment and ensuring your treatment progresses smoothly. Consistent, careful storage is a simple habit with a significant impact on the success of your Invisalign journey.
Avoiding Damage: What to Watch Out For
Protecting your Invisalign aligners from damage is vital for a successful treatment. Avoid drinking hot beverages while wearing them, as heat can warp the plastic. Similarly, be cautious with very sugary drinks, as sugar can contribute to tooth decay and potentially affect the aligners’ fit.
Do not use toothpaste or abrasive cleaning agents to clean your aligners, as these can scratch the surface, making them cloudy. Avoid biting or chewing on your aligners, as this can cause cracks or breakage. Be mindful when eating, and remove your aligners before consuming meals to prevent food particles from becoming trapped.
If you experience any cracks, chips, or significant warping, contact your orthodontist immediately. Attempting to repair damaged aligners yourself can compromise your treatment. Careful handling and awareness of potential hazards will help ensure your aligners remain in optimal condition throughout your Invisalign journey.
Oral Hygiene During and After Treatment
Maintaining excellent oral hygiene is crucial throughout Invisalign treatment and beyond; brush, floss, and use recommended solutions to prevent decay and gum disease.
Brushing and Flossing Techniques
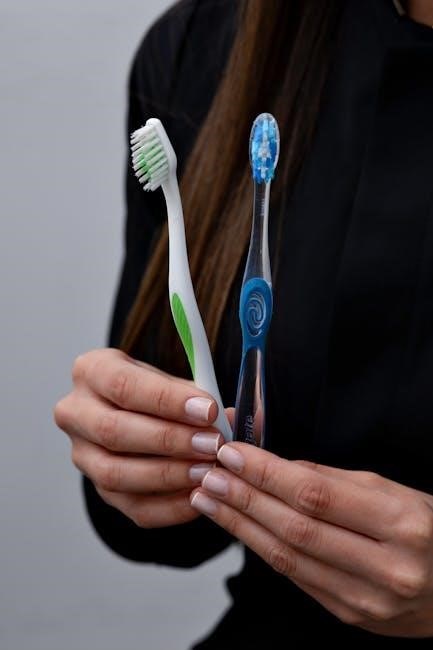
Brushing and flossing are even more critical during Invisalign treatment than with traditional braces, as aligners can trap food particles against your teeth. Brush after every meal, using a soft-bristled toothbrush and fluoride toothpaste. Pay close attention to the gumline, ensuring you remove all plaque and debris.
When flossing, consider using floss threaders or interdental brushes to effectively clean between teeth, especially around the aligner attachments. Traditional flossing can be challenging with aligners in place, so these tools are incredibly helpful. Don’t rush this step – thorough flossing prevents cavities and gum disease.
Remember to also brush your aligners gently with a soft toothbrush and mild soap when cleaning them. Avoid abrasive toothpaste, as it can scratch the plastic. Consistent and meticulous oral hygiene is the cornerstone of a successful Invisalign journey, protecting your teeth and ensuring a beautiful, healthy smile throughout and after treatment.

Using Invisalign Cleaning Crystals or Solution
To maintain clarity and hygiene, regularly deep-clean your Invisalign aligners using specialized cleaning products. Invisalign cleaning crystals or solutions effectively remove plaque, bacteria, and stubborn stains that brushing alone might miss. These products are designed to be gentle on the aligner material, preventing scratches or damage.
Typically, you’ll dissolve the crystals or solution in water, creating a cleaning bath. Soak your aligners for the recommended time – usually 15-30 minutes – following the product instructions carefully. Avoid using hot water, as it can warp the plastic. After soaking, rinse the aligners thoroughly with cool water.
Regular use of cleaning crystals or solution, alongside daily brushing, ensures your aligners remain fresh, clear, and effective. This contributes to optimal oral health and maximizes the benefits of your Invisalign treatment, keeping your smile bright and confident throughout the process;
Mouthwash Recommendations
Incorporating a suitable mouthwash into your oral hygiene routine significantly enhances Invisalign aftercare. Opt for an alcohol-free mouthwash, as alcohol can dry out your mouth and potentially irritate gums. A dry mouth increases the risk of bacterial growth and can affect aligner adhesion.
Look for mouthwashes containing fluoride to strengthen tooth enamel and help prevent cavities. Antimicrobial mouthwashes can further reduce bacteria levels, contributing to healthier gums. However, always rinse your mouth before reinserting your aligners after using mouthwash.
Avoid mouthwashes with dyes, as these can stain your aligners over time. A clear, alcohol-free, fluoride-containing mouthwash is the ideal choice. Consistent use, alongside brushing and flossing, promotes optimal oral health during and after Invisalign treatment, ensuring a confident and radiant smile.

Retainer Wear After Invisalign
Retainer use is the cornerstone of maintaining your Invisalign results; consistently wearing them prevents teeth from shifting and solidifies your newly aligned smile.
Understanding Retainer Types
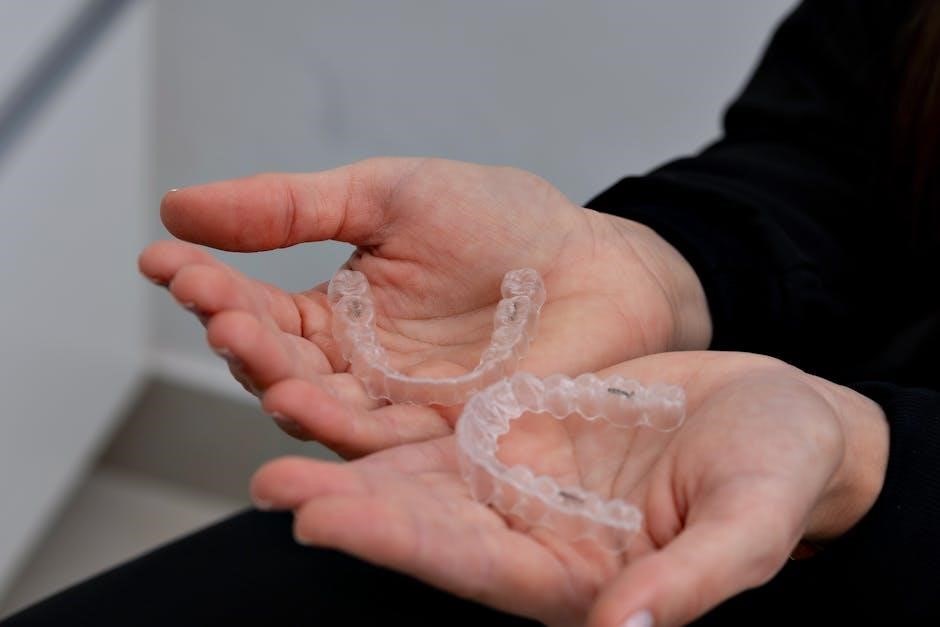
Following your Invisalign treatment, retainers are essential for preserving your beautiful new smile. There are primarily two types of retainers available: Vivera retainers and traditional wire retainers. Vivera retainers, offered by Invisalign, are clear, custom-fit retainers made from a similar material to your aligners, providing a discreet and comfortable option. They are highly precise and designed to maintain the exact tooth positioning achieved during treatment.
Traditional wire retainers, on the other hand, consist of a wire across the front of your teeth bonded to acrylic. While less visually subtle, they are incredibly durable and effective at preventing shifting. Your orthodontist will recommend the most suitable type based on your individual needs and treatment complexity. It’s crucial to understand the characteristics of each option to ensure you choose the retainer that best fits your lifestyle and provides optimal long-term stability for your smile. Both types require diligent cleaning and care to maintain their effectiveness.
Retainer Wear Schedule: Initial Phase
The initial phase of retainer wear after Invisalign treatment is critical for stabilizing your teeth in their new positions. Typically, orthodontists recommend full-time wear for the first few weeks, often around 20-22 hours per day. This means wearing your retainers constantly, removing them only for eating, drinking anything other than water, and performing your oral hygiene routine.
This intensive wear period allows the surrounding tissues and bone to adapt to the new alignment, minimizing the risk of teeth shifting back towards their original positions. Following this initial period, a gradual reduction in wear time is usually implemented. Your orthodontist may instruct you to transition to nighttime-only wear, typically for several months or even indefinitely. Consistent adherence to the prescribed schedule is vital; any deviations can compromise the stability of your results. Regular check-ups will help monitor progress and adjust the schedule as needed.
Long-Term Retainer Maintenance
Even after the initial intensive wear phase, long-term retainer maintenance remains crucial for preserving your Invisalign results. While many transition to nighttime-only wear, some individuals may benefit from continued full-time wear, particularly if their teeth have a tendency to relapse. Regular dental check-ups are essential to monitor retainer fit and tooth stability.
Proper cleaning is vital; gently brush your retainers daily with a soft-bristled toothbrush and mild soap, avoiding abrasive products. Store them in a protective case when not in use to prevent damage or loss. Be mindful of habits like teeth grinding or clenching, as these can put stress on your retainers and potentially cause shifting. If you notice any changes in fit, discomfort, or damage, contact your orthodontist immediately. Lifelong retainer wear, even intermittently, is often recommended to maintain a beautiful, straight smile achieved through Invisalign.
Post-Treatment Check-Ups
Regular dental visits are key to monitoring stability and addressing any concerns after Invisalign. These check-ups help prevent relapse and maintain your newly aligned smile effectively.
Regular Dental Visits
Post-Invisalign, consistent dental check-ups are absolutely crucial – they aren’t simply a formality! Your dentist will meticulously evaluate the stability of your teeth, ensuring they remain in their newly corrected positions. These appointments allow for early detection of any potential shifting or relapse, enabling prompt intervention.

Typically, an initial check-up is scheduled shortly after completing your retainer wear, followed by periodic visits – often every six months, mirroring standard dental hygiene appointments. During these check-ups, your dentist will assess your bite, examine your gums for health, and screen for any signs of tooth decay.
Don’t hesitate to discuss any concerns you have regarding your smile or oral health with your dentist. They can provide personalized advice and guidance to help you maintain a stunning, straight smile for years to come. Proactive monitoring is the cornerstone of long-term Invisalign success!
Addressing Relapse Concerns
While Invisalign delivers fantastic results, some degree of tooth movement is a natural biological process, and relapse is a possibility. Consistent retainer wear is your primary defense! However, understanding potential causes and recognizing early signs of shifting is equally important.
Factors contributing to relapse include natural settling of teeth, changes in habits (like tongue thrusting), and even the aging process. If you notice any subtle changes in your bite or alignment, don’t ignore them! Schedule an appointment with your dentist immediately.
Early intervention is key. Your dentist may recommend adjustments to your retainer, or even a short course of refinement aligners to correct minor shifts. Ignoring relapse concerns can lead to more significant movement, potentially requiring a more extensive treatment in the future. Proactive monitoring and prompt action are vital for preserving your beautiful Invisalign smile!