Chariot 2 iScrub 20X Manual: A Comprehensive Guide
This manual details operation, maintenance, and troubleshooting for the Chariot 2 iScrub 20X, a battery-powered, stand-on scrubber designed for commercial hard floor cleaning․

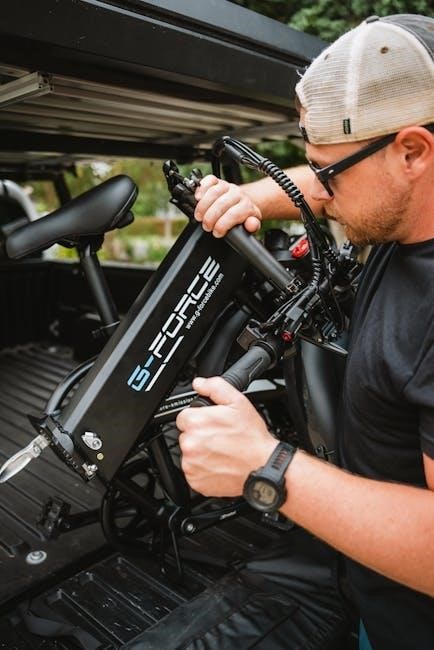
The Chariot 2 iScrub 20X represents a significant advancement in commercial hard floor cleaning technology․ This stand-on scrubber is engineered for productivity and maneuverability, offering a robust solution for maintaining various floor surfaces within commercial environments․ Designed with the operator in mind, the iScrub 20X simplifies cleaning tasks while maximizing efficiency․

This manual serves as a comprehensive guide, providing detailed instructions on safe operation, routine maintenance, and effective troubleshooting․ It covers model variations – including CS20, CS24, CSE24, CS24SP, CSX24, and CSXE24 – ensuring users can readily identify and understand their specific machine․ Proper utilization of this manual will contribute to the longevity and optimal performance of your Chariot 2 iScrub 20X․
Model Variations and Identification

The Chariot 2 iScrub 20X series encompasses several models tailored to diverse cleaning needs․ Identifying your specific model is crucial for accessing the correct maintenance procedures and replacement parts․ Key variations include the CS20 (1․006-125․0), alongside the CS24, CSE24, CS24SP, CSX24, and CSXE24 models․
Each model may feature slight differences in specifications or functionality․ Refer to the machine’s data plate, typically located on the chassis, to confirm the exact model number․ This manual provides guidance applicable to all listed variations, but specific details may vary․ Accurate model identification ensures you utilize the appropriate operating instructions and maintenance schedules for optimal performance and longevity of your iScrub 20X․
CS20 Models (1․006-125․0)
CS20 models (1․006-125․0) represent a core offering within the Chariot 2 iScrub 20X line, designed for efficient and reliable hard floor cleaning in commercial environments․ These units are characterized by their robust construction and user-friendly operation․ Operators should consult the comprehensive manual, specifically section 86398220, for detailed instructions pertaining to this model;
Proper utilization of the CS20 requires understanding its specific features and adhering to recommended maintenance schedules․ Regular inspection of brush heads, squeegees, and solution tanks is vital․ This ensures peak performance and minimizes downtime․ Always refer to the parts diagrams for accurate component identification when performing repairs or replacements․
CS24, CSE24, CS24SP, CSX24, CSXE24 Models
The CS24 series – encompassing CSE24, CS24SP, CSX24, and CSXE24 models – builds upon the foundation of the Chariot 2 iScrub 20X platform, offering enhanced capabilities for diverse cleaning applications․ These variations often include specialized features like increased tank capacity or alternative brush configurations․ Operating instructions, detailed in document 86037660, are crucial for safe and effective use․

Users should familiarize themselves with the specific nuances of their assigned model․ Regular maintenance, as outlined in the manual, is paramount for optimal performance․ Proper attention to squeegee condition and cleaning solution application will maximize cleaning efficiency and extend the lifespan of these robust machines․
Safety Precautions and Guidelines
Prior to operating the Chariot 2 iScrub 20X, thoroughly review all safety precautions detailed within this manual (86037660 & 86398220-G)․ Always ensure the machine is on a level surface before starting․ Never operate with damaged components, and immediately report any malfunctions․
Wear appropriate personal protective equipment, including safety glasses and non-slip footwear․ Avoid operating in areas with flammable materials․ Be mindful of pedestrians and obstacles during operation․ Proper battery charging procedures are essential to prevent hazards․ Adherence to these guidelines will ensure a safe working environment and prolong the machine’s operational life․

Understanding the Machine Data Log/Overview
The Chariot 2 iScrub 20X is a commercial-grade, battery-powered stand-on hard floor scrubber (manuals 86037660 & 86398220-G)․ Its design prioritizes productivity and maneuverability․ The machine data log, though not extensively detailed in provided excerpts, likely records operational hours and potential error codes․
Understanding the machine’s core components – the brush head, squeegee, and solution tanks – is crucial for effective operation․ Regular review of operational data can help identify maintenance needs and prevent unexpected downtime․ Familiarize yourself with the machine’s overall functionality to maximize cleaning efficiency and ensure longevity․
Operational Instructions
Before operating the Chariot 2 iScrub 20X, thoroughly review the operator’s manual (86398220)․ This ensures safe and efficient cleaning․ Initial setup involves verifying battery charge and inspecting all components․ Proper cleaning solution application is vital; follow dilution guidelines to avoid damage or ineffective cleaning․
The manual details sections on safety, operations, and maintenance․ Understanding these areas is paramount․ This guide provides instructions for starting, stopping, steering, and maneuvering the machine․ Adhering to these guidelines will maximize productivity and minimize potential issues during operation․
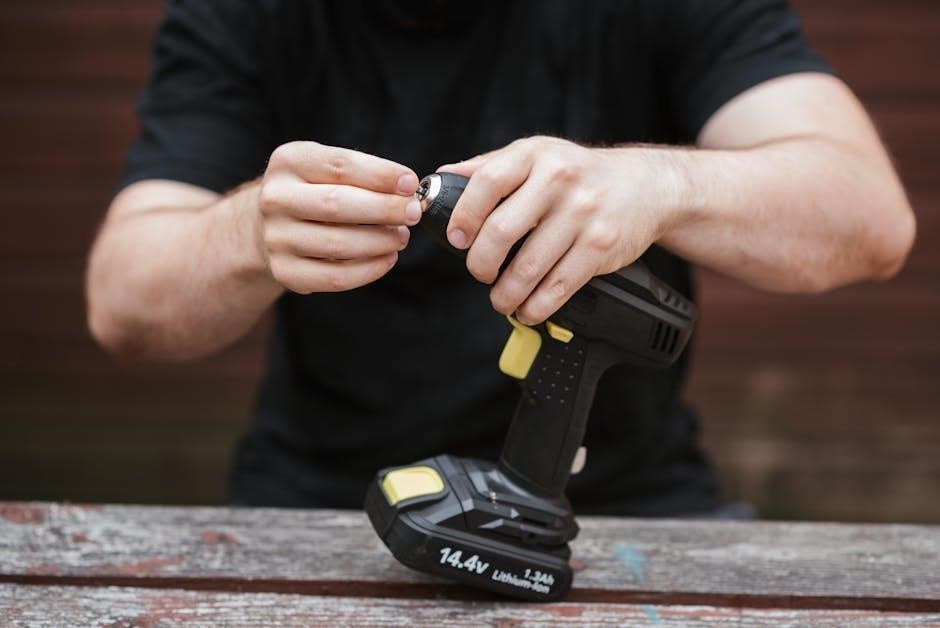
Initial Setup and Battery Charging
Prior to the first use, fully charge the Chariot 2 iScrub 20X batteries․ Refer to the manual (86398220-G) for specific charging instructions and recommended charging times․ Ensure the charging area is well-ventilated and free from flammable materials․ Inspect the battery cables and connections for any damage before connecting to the charger․
Verify the machine is switched off during charging․ Regularly check the battery’s water levels (if applicable) and maintain proper electrolyte levels․ Proper battery maintenance extends battery life and ensures optimal machine performance․ Always disconnect the charger before performing any maintenance or inspection․
Cleaning Solution Application
The Chariot 2 iScrub 20X applies cleaning solution via a solution dispensing system․ Always use Windsor-approved cleaning solutions, diluted according to the manufacturer’s instructions․ Incorrect dilution can damage the machine or leave residue on the floor․ Fill the solution tank with the appropriate diluted cleaning solution, ensuring the tank is not overfilled․
Adjust the solution flow rate based on the level of soiling․ Begin with a lower flow rate and increase as needed․ Regularly inspect the solution lines and nozzles for clogs or obstructions․ Proper solution application is crucial for effective cleaning and preventing damage to the machine․
Operating the iScrub 20X
The iScrub 20X is designed for efficient, stand-on operation․ Before starting, ensure the area is clear of obstructions and personnel․ Familiarize yourself with all controls, including the power switch, steering tiller, and solution/vacuum levers․ Proper operation maximizes cleaning performance and minimizes operator fatigue․
Always adhere to safety precautions outlined in the manual․ Begin operation at a slow speed, gradually increasing as comfort and control are established․ Regularly monitor the machine’s performance and adjust settings as needed for optimal results․ Consistent, correct operation extends machine lifespan․

Starting and Stopping the Machine
To start the iScrub 20X, ensure the battery is fully charged and the key is inserted․ Turn the key clockwise to the ‘ON’ position; the control panel will illuminate․ Verify the safety interlock is engaged before activating the brush and vacuum systems․ To stop, release the safety interlock and turn the key to the ‘OFF’ position․
Always ensure the machine comes to a complete stop before dismounting․ Never leave the machine running unattended․ Follow these procedures consistently to prevent accidental operation and ensure operator safety; Proper shutdown preserves battery life and minimizes wear on components․
Steering and Maneuvering
The Chariot 2 iScrub 20X utilizes a responsive steering wheel for precise control․ Gentle rotations steer the machine; avoid abrupt movements for optimal stability․ The compact design enhances maneuverability in tight spaces․ Utilize a slow speed when navigating obstacles or confined areas․
Familiarize yourself with the machine’s turning radius for efficient operation․ Practice steering in an open area before tackling complex cleaning routes․ Proper maneuvering minimizes cleaning time and prevents damage to surroundings․ Always be aware of pedestrian traffic and adjust speed accordingly․
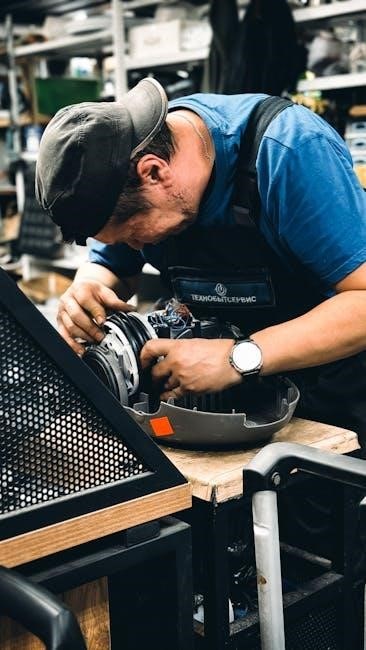
Maintenance Procedures
Regular maintenance ensures optimal performance and extends the lifespan of your Chariot 2 iScrub 20X․ Adhere to the daily checklist, including rinsing the solution tank and inspecting brushes and squeegees․ Frequent inspections should cover battery connections, tire pressure, and overall machine condition․
Promptly address any identified issues to prevent escalation․ Keep all components clean and free of debris․ Refer to the parts diagrams for proper replacement procedures․ Following these procedures guarantees reliable operation and minimizes downtime, contributing to consistent cleaning results and reduced long-term costs․
Daily Maintenance Checklist
Begin each workday with a thorough inspection․ Rinse the cleaning solution tank with clean water, ensuring no residue remains․ Examine the brush heads for wear or damage, replacing as needed․ Inspect the squeegee blades for tears or stiffness, and clean thoroughly․
Check battery connections for corrosion and ensure they are secure․ Verify proper tire inflation for optimal maneuverability․ Wipe down the machine’s exterior to remove dirt and debris․ Document any observed issues for prompt attention, maintaining a log for tracking maintenance activities and ensuring consistent performance․
Regular Inspection Points
Conduct weekly inspections of critical components․ Thoroughly examine the drive system for unusual noises or wear, addressing any concerns immediately․ Inspect all hoses and connections for leaks or damage, replacing as necessary to prevent fluid loss․ Check the electrical system, including wiring and connectors, for corrosion or fraying․
Evaluate the condition of the squeegee assembly, ensuring proper alignment and functionality․ Verify the operation of safety features, such as emergency shut-off switches․ Document all inspection findings and completed repairs, maintaining a detailed maintenance history for long-term reliability․
Troubleshooting Common Issues
Addressing problems promptly maximizes uptime․ For brush head issues, check for debris or damage, ensuring proper rotation․ Squeegee problems often stem from worn blades or incorrect pressure – adjust or replace as needed․ If the machine won’t start, verify battery charge and check safety interlocks․
Low cleaning performance could indicate insufficient solution flow or clogged nozzles․ Unusual noises may signal drive system problems requiring professional attention․ Always consult the full manual for detailed diagnostics and repair procedures before attempting complex fixes, prioritizing safety and proper operation․
Brush Head Problems

Addressing brush head issues ensures optimal cleaning performance․ If the brush isn’t rotating, first check the drive belt for damage or slippage․ Debris accumulation is a common cause of reduced effectiveness; thoroughly clean the brush and surrounding area․ Inspect the brush bristles for excessive wear, and replace them if needed to maintain scrubbing power․
Uneven scrubbing can indicate an unbalanced brush head or worn bearings․ Ensure proper down pressure is applied, as insufficient pressure reduces cleaning ability․ Always disconnect the power before inspecting or servicing the brush head assembly, prioritizing safety during maintenance․
Squeegee Issues
Proper squeegee function is vital for a streak-free finish․ If water is left behind, check the squeegee blades for wear, tears, or debris buildup․ Adjust the squeegee pressure to ensure firm contact with the floor surface; too little pressure results in streaking, while too much can cause drag․
Inspect the squeegee assembly for damage or misalignment․ Regularly clean the squeegee blades with a mild detergent to remove residue․ Replace worn blades promptly to maintain optimal water pickup and prevent water trails․ Ensure the squeegee is correctly positioned relative to the brush path for efficient water removal․
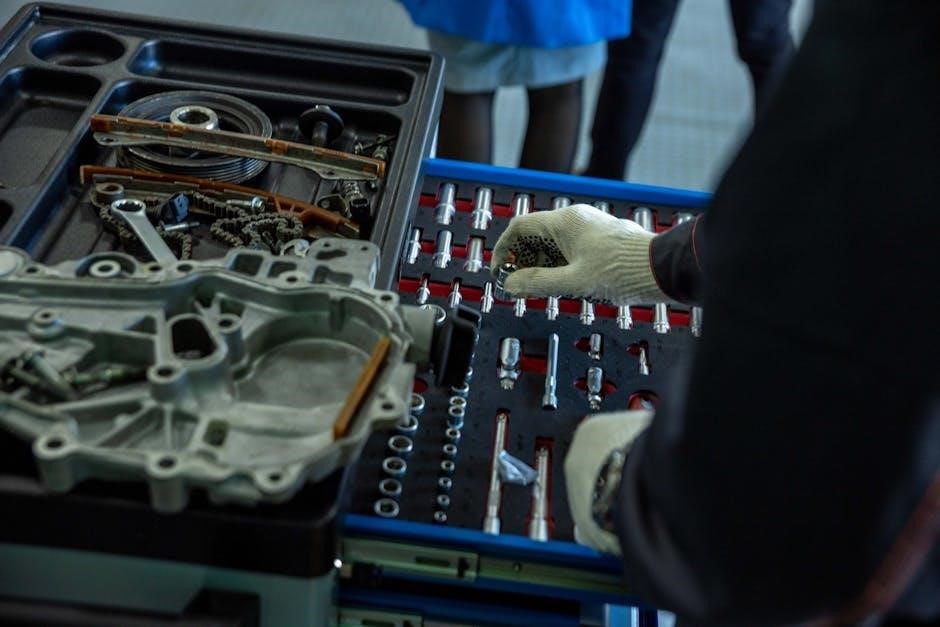
Parts and Diagrams
Access to detailed parts lists and diagrams is crucial for effective maintenance and repair of your Chariot 2 iScrub 20X․ These resources facilitate accurate identification of components when ordering replacements or performing servicing․ Comprehensive diagrams illustrate the machine’s assembly, showcasing the location of each part․

Refer to the official Windsor documentation for exploded views, part numbers, and detailed specifications․ Online catalogs and service manuals often provide interactive diagrams for easy navigation․ Maintaining a readily available set of diagrams minimizes downtime and ensures correct part selection during repairs․
Windsor Chariot 2 iScrub 20 Deluxe ORB Parts

Sourcing replacement parts for the Chariot 2 iScrub 20 Deluxe ORB model is streamlined through dedicated suppliers․ Key components include brush heads, squeegee blades, filters, and motor assemblies․ Regularly inspect these parts for wear and tear to maintain optimal cleaning performance․
Authorized Windsor distributors offer genuine ORB parts, ensuring compatibility and quality․ Online catalogs provide detailed listings with part numbers and diagrams․ Prioritize genuine parts to avoid compromising the machine’s efficiency and longevity․ Prompt replacement of worn components minimizes downtime and extends the scrubber’s operational life․
Repair Guides and Manual Access
Comprehensive repair guides and operator manuals for the Chariot 2 iScrub 20X are crucial for effective maintenance and troubleshooting․ Access to these resources, including document revision history (86037660, 86398220-G), empowers technicians and operators․
Windsor’s official website provides downloadable manuals in various formats․ These guides detail step-by-step procedures for common repairs, alongside detailed parts diagrams․ Utilizing these resources ensures safe and accurate repairs, minimizing downtime․ Online support forums and video tutorials further supplement the documentation, offering practical assistance and expert advice for all maintenance needs․
Maximizing Productivity and Maneuverability
The Chariot 2 iScrub 20X is engineered for both high productivity and exceptional maneuverability in commercial cleaning applications; Its stand-on design allows for increased visibility and efficient operation within confined spaces․
Optimizing cleaning paths and utilizing the machine’s steering capabilities are key to maximizing efficiency․ Proper brush head selection and solution concentration further enhance cleaning performance․ Regular maintenance, as outlined in this manual, ensures consistent operation and prevents downtime․ Mastering these techniques unlocks the full potential of the iScrub 20X, delivering superior results․
Manual Usage Guide
This Chariot 2 iScrub 20X manual is structured to provide comprehensive guidance for operators and maintenance personnel․ It’s divided into key sections covering safety precautions, operational instructions, maintenance procedures, and troubleshooting․
Familiarize yourself with the ‘Safety’ section before operating the machine․ The ‘Operations’ section details startup, steering, and cleaning solution application․ ‘Maintenance’ outlines daily checks and regular inspections․ Utilize the ‘Troubleshooting’ guide to address common issues․ Diagrams and parts lists are included for repair purposes․ Refer to the document revision history for the latest updates – versions 86037660 and 86398220-G are noted․
Document Revision History (86037660, 86398220-G)
This document reflects the revision history for the Chariot 2 iScrub 20X manual, ensuring users have access to the most current information․ Version 86037660, dated October 20, 2011 (DT), initially outlined machine data log overviews and operational instructions for models CS24, CSE24, CS24SP, CSX24, and CSXE24․
A subsequent revision, 86398220-G, released on August 1, 2017, expanded coverage to include the CS20 1․006-125․0 model․ This update incorporated the complete operator’s manual, detailing safety protocols, operational procedures, maintenance schedules, and troubleshooting guides․ Always verify you are using the latest revision for optimal performance and safety․